Total Pageviews

Thursday, April 4, 2013

super shafts?

I finally got off my keester and installed the new chromoly shafts.  The ears are much thicker
and compared to the original shafts that "clang" when set on the concrete, the new ones ring out a bit.
Sounds like the difference between bouncing a new quarter vs an older silver laden quarter.

The only cap left in still has the post of the ujoint stuck in it. 
Both of the u joints posts sheared off at the center body.
I still can't deduct if the ujoint let go first and screwed up the shaft
or the ear let go and let the cap come out, hit the bottom ball joint then
screwed up everything.
Anyone want to buy a slightly used axle shaft?


New shaft in.  I had no idea how easy it was
to put in the new u joints into a new set of shafts.
The new bottom ball joint is a Moog.  From now on
I'm replacing anything that breaks with Spicer or Moog parts.

Here are the new hubs.  They are the "premium" models.
I bet they weigh 3/4 the weight of the original hubs.
I wish I had gotten a picture of the outer dial,
the new ring (part with allen bolts) is hollow inside vs solid on the original.
Unless it gets hit it shouldn't matter though. It just has to keep a couple pounds
of spring pressure at bay.
The actual housing seems like the same design.
The old hub liked being assembled one way only to work, this
new one has a wave spring that doesn't seem to care how its aligned.
It turns smoothly and presses down the  toothed ring to engage the
axle shaft.


Shaft on the passenger side.
Note: remember to put the spindle seals and
washer onto the outer shaft otherwise
you will be removing and putting them in later.
Just saying.

Monday, March 4, 2013

what went wrong / right this year v1.1

Megarun was huge fun again.  Met up with friends and did trail runs Friday and Saturday morning before competitions. 
With the mods since last year- the commando went up and down stuff that was impassible last year.

This was the Friday night before shot..
 
 
Clydes ravine


This is the last 25' of the rock garden, everything went wrong
when it was thrown onto the drivers front wheel before coming
off the rocks.  Made it though...


http://www.youtube.com/watch?v=kqhu0g5cbnM&feature=g-user-f&list=FLq8wWTqr0LLVrDMzPMy6KdQ

This is the after the rock garden shot... slight alignment issue
Bent tie rods, bent rim, hurt the warn hub- didn't crack it- but couldn't pull dial off easily, snapped 3 ears off
axle shafts , snapped swivel joint and messed up lower ball joint.
1 hit on 1 rock in 1 wrong spot is all it takes.


This is the story of a trail that fell in with the wrong crowd- it used to be a fun suspension flexer
that everybody could enjoy-by the name of "twister" -then it went bad.
If you can't tell, the door handle is crushed and needs to be replaced.  Still works though.

No matter where I put armor, the rock would just jump out and hit somewhere else.
Out of the entire weekend theres this drivers side damage, and a, A SCRATCH on
the rock rail. humph!


This was our next door neighbor- and a fine example
of what the wheeling community does for its friends, and quite a deserving one at that.
  DFW TX4X4
helped him with this AWESOME wrap for his jeep, a year ago he had a heart
transplant and was advised to take it easy- fat chance!  This little cj5 went out and
mixed it up with the big boys easily!

--------------------------------------------------------------------
3-7-13
I ordered chromemoly axle shafts and parts for the front, should be in next week.
Should last a little longer if I stay off the skinny pedal.....

I'm planning on getting the 1 ton cheby tie rod kit- its supposed to
be over the knuckle, and with the scouts steering arms so high now-
it'll either never get touched, or crush the frame on the first bump.

http://www.broncofix.com/quinn/scoutknuckle.html

------------------------------------


New axle shafts came in- usa standard brand.
The reason I'm not capitalizing usa is that it is
probably not made in the USA.  :(
From what I read, usa standard is yukon brand
that didn't go through "a final touch up or finishing procedure".
(polishing, standard control, etc...)
I have read that the same shafts with yukon
will accept CTM joints and these won't.
A:  I don't care- got some Spicers.......
B: CTM would cost as much as the shafts


Sunday, February 24, 2013

aussie locker - in progress

BTW- after a COUPLE WEEKS, back country binders got my replacement front brake hoses to me- they seem to be of good quality and are DOT approved. Even though it was "cheap" pricewise compared to some other dealers parts   I don't know how they justify the $18.75 shipping cost for something thats 1 pound from Washington state to Texas...

OK- off my soap box....


This is in the rear end- fine for going straight, but for steering in the front its
generally regarded as horrible.


Thats why I got this- an Aussie locker- made in the USA

The instuctions note that if you have a thick ring gear- you will have to remove the carrier.
On my '92 Cherokee with the 8-1/4" rear axle and stock gearing the cross pin came right out past
the ring gear with no problems and everything was done in place- not so with a front end dana 44 and 4.56 gears.
Jack up the vehicle on a flat surface, chock the back wheels, and put the front axle on jack stands. 
My faithful 2 ton jack turned unfaithful the other day so don't trust them.
Start pulling the tires, brake calipers, locking hubs (yes, its old), hubs, caliper bracket and spindle.  Then
just simply pull the axleshaft out a couple inches. There's half an hour you'll never reclaim.
Mark the bearing caps so they go back in the same direction, grab a 3/4" drive and cheater bar then
get after the bolts.  A pry bar was utilized to get the carrier to pop out.


Here- the ring gear was removed already- the cross (drive) pin has a rolled pin that keeps it in place.  I found the proper sized drill bit and a nylon dead blow and tapped it out.  The pin came out pretty easily.

To get out the  spider gears rotate the gears and remove the smaller ones.  They have a curved thrust washer under
each gear that needs to be removed also.  One washer came out stuck to the gear- one stayed.


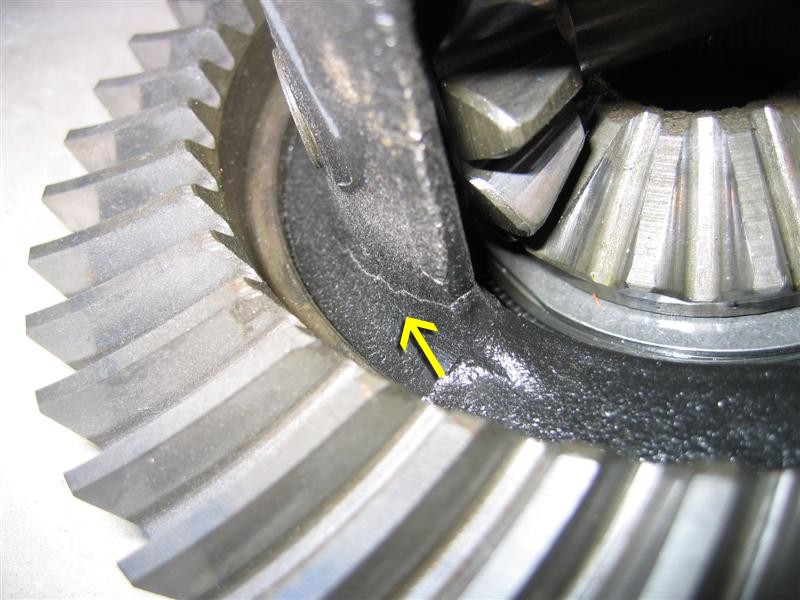
Note the side rib reinforecment the scout carrier has... BEEFY!  Compare this
to the pics on the early bronco site of that carrier below.


Aussie Locker Installation
This is the carrier off the early bronco
site showing the crack he has
in the carrier, no rib reinforcement...


Heres the locker installed with pins and springs- I didn't dare try to put in the springs and hold the camera at the
same time!  The Aussie requires you to get a clearance between the side cups and pin and then after installing
a clearance between the 2 inner gears that the cross pin goes through.  With the new , non warped, washer
and pin, everything was dead perfect.

The cross pin went in easily, the roll pin was a bit of a pain, but went in.


Re-assembly:

Re install ring gear & torque bolts.
Put carrier back into pumkin, torque carrier bearing bolts to spec
Put axles back in, reinstall and grease spindles, brakes, locking hubs
Put on tires and do the final Aussie locker test.
I put on a THICK differential cover to protect my investment (2X as thick as stock)
Fill with gear oil
Enjoy having an actual 4WD!

http://classicbroncos.com/aussie_locker.shtml

Tuesday, February 19, 2013

tranny pan mods for driveshaft clearance

The new front driveshaft is BIG! So much so that even with a previously altered tranny pan ( where the driveshaft went phlooey) it still hits.
Here's the valve body:
The front side towards torque converter

The rear- The big aluminum circle at the top of the picture is what the driveshaft
is close to...


I started by making a small hole to see what could be done.

The valve is about 3/8" in, but the bolt that holds it is 1/4" inch in.

I tried a piece of 3/16 steel, but there wasn't enough room and the driveshaft still hit.

I settled on a piece of 1/8" that was bent to fit

For those that remember- it kind of resembles a shoe horn.

Heres the finished product, I finally HAD TO take off the balance weight
from the driveshaft to keep it from hitting at full compression.
This was welded outside and inside, ground down a little and then leak tested
before painting...again.

Tuesday, February 5, 2013

Tuesday, January 22, 2013

1973-2013

Epiphany-
The jeep will be a runner by the Jeeps 40th birthday.

Saturday, January 19, 2013

rear bumper and roll cage beginnings

I got a bit inspired after getting the rear bumper finished. The hole on the left is the exhaust


So I started measuring, measuring, and measuring THEN bent the tubing for the cage . I measured
with the top on several different times to see what could happen and kinda went for it.

This isn't mine, but I liked the looks of it.
 
The front tube is vertical, the rear is slanted at 65* like the top.
Tubing is 1 5/8" dia .120 wall A500B 
 
The bars went into many different positions before settling for corner mounted
bars.  This gave a lot of headroom for the rear passengers.  The initail plans are
to run some extension tubes to the windshield like  the wranglers had.
The windshiled doesn't fold so this would be practical, and if I want to
go 6 point later the tubes can be added in.


ok- how to explain this-
some commandos came as a convertable, and there was a hollow area that a small rear passenger
roll down wing window was mounted.  Not the best idea, but upon observing this I realized that
it would be better to utilize this waste of space than to use up the precious floorboards.
The roll bar fits onto a footer that is in the void and the outer rocker armor and inner floor bracing
are bolted through this.    To make it look better- and take care of the sharp edges- I broke off the spot welds
to the rear cover of the void (where paint ends on right) and moved it to the left of the roll bar and re welded it.
The ginormous hole will have a plate bent to cover it with a drink holder in it.
An upper view of how short the void is now.  Replacing this piece also strengthend the door latch.  The black
piece of plastic was cut down to fit the hole.  Whatever engineer came up with this needs to be flogged.
 
Here is the basics of the cage-  Somehow it came out pretty straight.  After thought of all of this is when
I tried opening the tailgate and the handles cleared the rear bars by 1/4" on both sides.

----------------------------------------------------
Roll bar frame supports are done on the rear.  I cut a 4x4 piece of square tubing
down on the corners to fit the rear frame crossmember that the rear springs mount to.
 A 3/16 plate w/ two 9/16" holes has 2 of the roll bar
bolts through it so if it has to move a little it can. 
A piece of roll bar tubing resides between the two.
The roll bar and supports have a layer of rubber insulation
between them and the body to reduce squeaks also.

The floorboard  was replaced and reinforced above the passenger rear corner prior to this.
This was where the hat channel usually collected dirt and rotted out.  Another Jeep engineer that needs to be flogged.